Self-Service Printing
Print, Scan & Copy
PrintPayGo lets you print documents from your phone, computer, cloud storage, or USB drive. Access printing quickly and easily — even without owning a printer.
From your phone, computer, or USB
Scan
To email or a USB drive
Copy
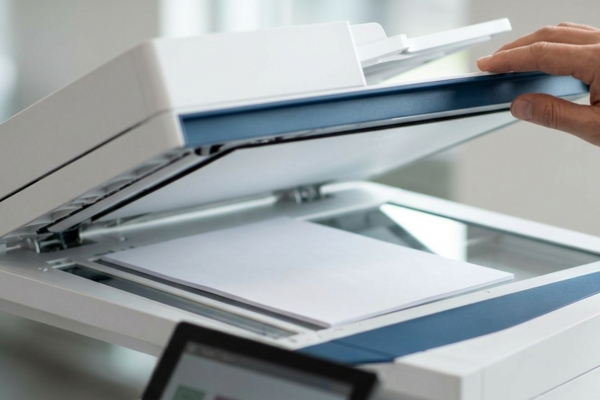
Self-service document copying
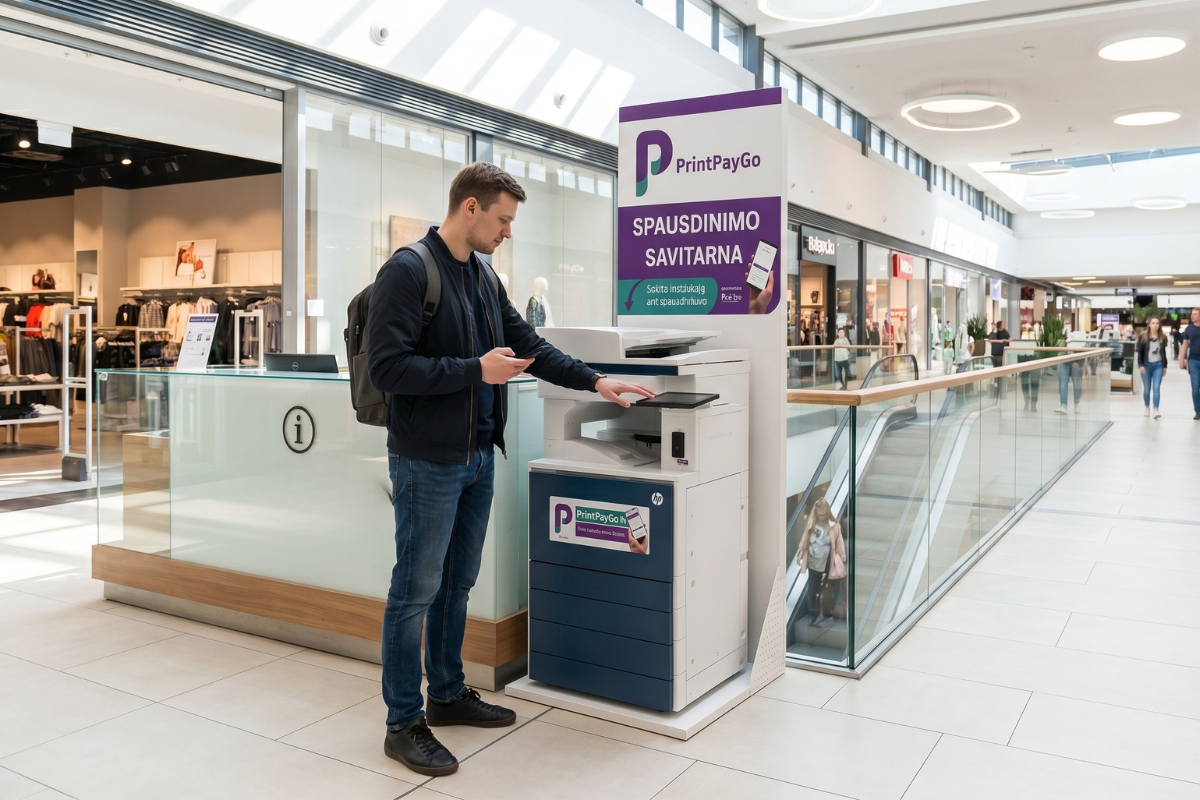
How Works
PrintPayGo?
Connect to a PrintPayGo printer using your phone or email and print, scan, or copy in just a few simple steps.
Simple and Easy.
Just a few steps — and you’ll never need to own a printer again.
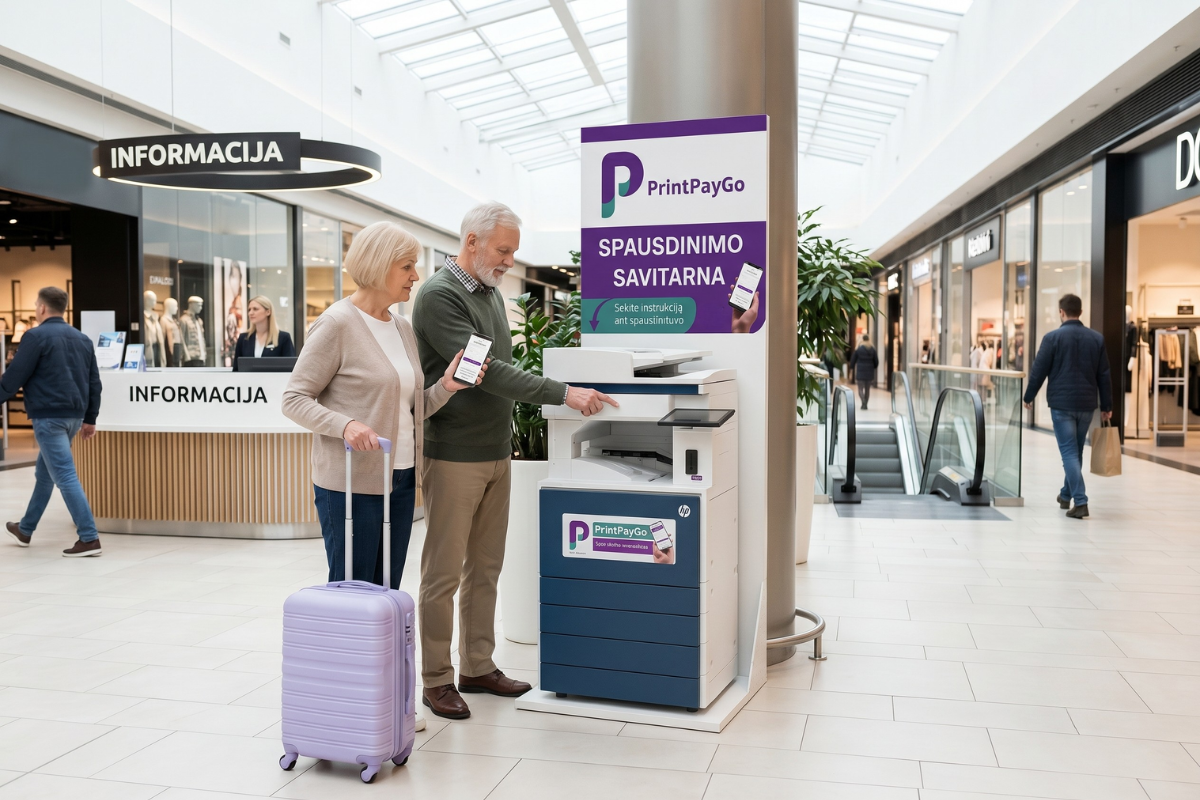
How to connect to the printer?
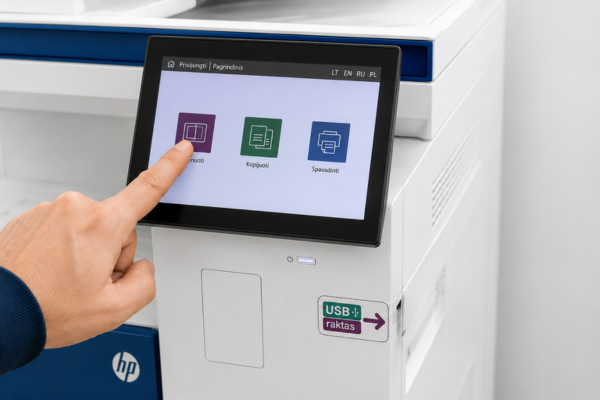
On the printer screen, tap the Log In button.
Enter your email and password or scan the QR code using the PrintPayGo app.
Once connected, you’ll see the printer information, available functions, and service pricing.
After closing the information window, you’ll be taken to the main screen where you’ll see your account name and the Log Out button at the top.
Choose the action you want to perform and follow the instructions on the printer screen.
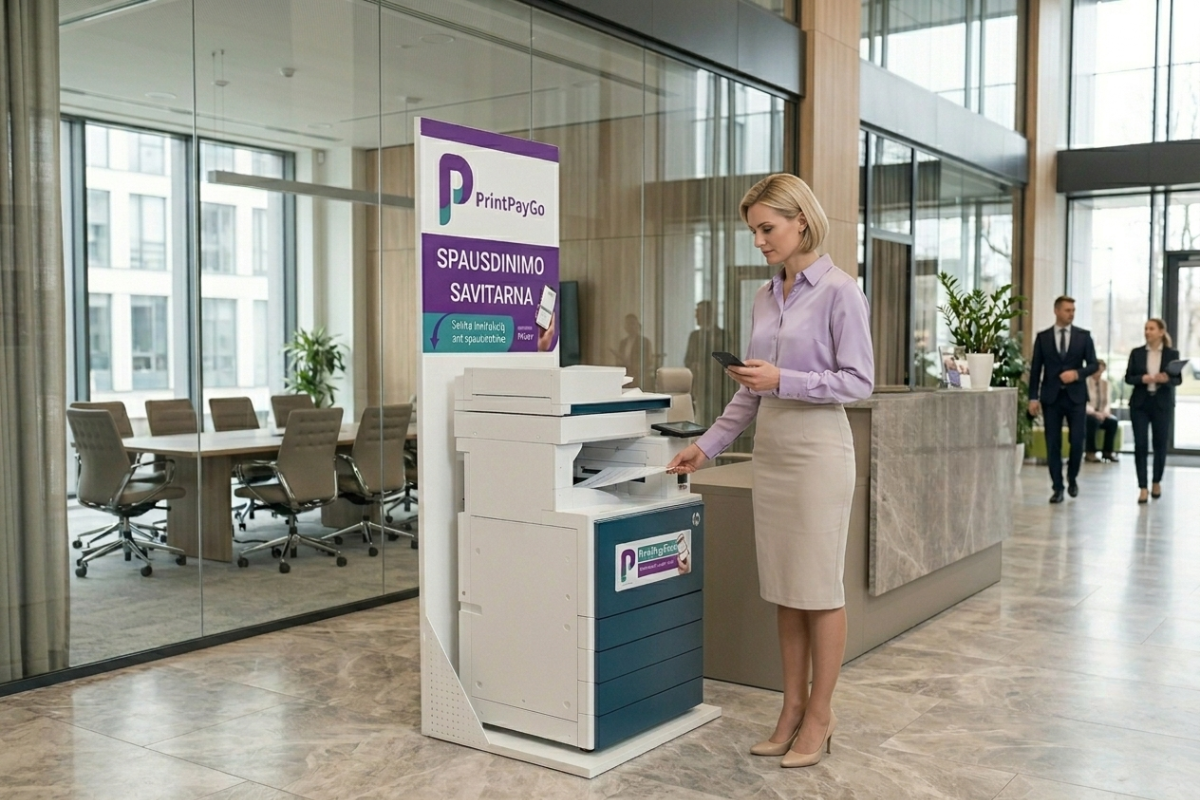
Print from Your Phone
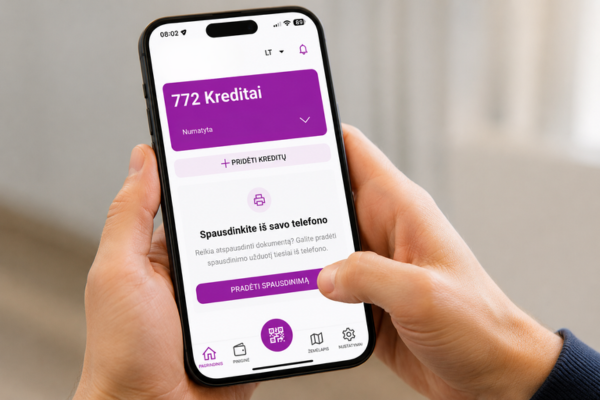
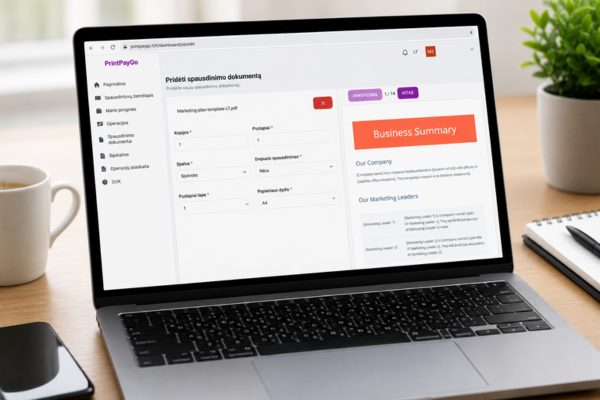
Print from Your Computer
Print from USB
Scan to Email
Scan to USB
Copy
Print from Your Phone
- Open the PrintPayGo app on your phone.
- Tap Start Printing.
- Select the document you want to print.
- Set the print options: number of copies, page range if needed, and other settings.
- Tap the printer icon. The document will be uploaded to the cloud and prepared for printing.
- Go to the printer and sign in to your account using your email and password or by scanning the QR code with the app.
- Select Print, then Print from cloud, and choose the document you want to print.
- Tap Print.
- Before printing, an additional window with the job price will appear. Select the wallet you want to use for payment and tap Confirm.
- After confirmation, the document will start printing.
Print from Your Computer
- Go to www.printpaygo.lt in your browser.
- Place the document you want to print in the folder Jobs.
- Go to the nearest PrintPayGo printer.
- Log in to the printer with your PrintPayGo account.
- Select Print.
- Then select Print from cloud.
- Select the documents you want to print and click the Print button.
- Before printing, an additional window will appear showing the cost of the job. Select the wallet you want to use to pay for printing and press the Confirm button.
- Once you confirm the job, your job will start printing.
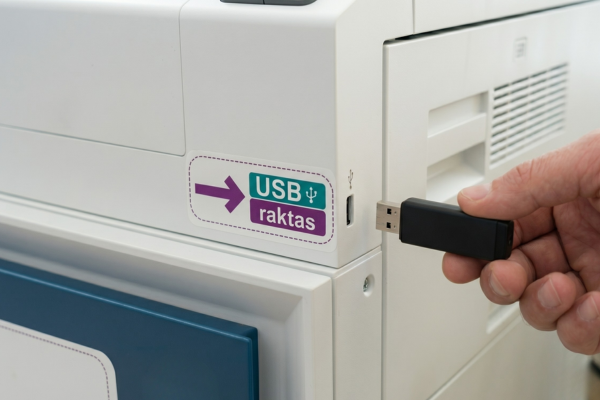
Print from USB
- Sign in to the printer using your PrintPayGo account, select Print, then choose Print from USB.
- Insert the USB drive into the USB port on the right side of the printer and wait for the sound notification confirming that the USB device has been detected.
- Important: The USB drive must be formatted in FAT32 format.
- Use the settings panel on the left side to configure your print job.
- Before printing, tap Select File on the left side and choose the document you want to print. In the pop-up window, select USB and choose your file by tapping on it.
- When ready, select the number of copies and tap Print.
- Before printing, an additional window with the job price will appear. Select the wallet you want to use for payment and tap Confirm.
- After confirmation, the document will start printing.
Scan to Email
- Sign in to the printer using your PrintPayGo account, select Scan, then choose Scan to Email.
- Use the settings panel on the left side to configure the scan job.
- If you want to send the scan to a different email address than the one linked to your account, enter the preferred email address.
- When ready, tap Scan.
- After scanning, you will be asked whether you want to scan an additional document in the same session. If you want to scan another document, prepare it and tap Scan. If no additional documents are needed, tap Done. To cancel the copy job, tap Cancel Job.
- After scanning is completed, an additional window with the job price will appear. Select the wallet you want to use for payment and tap Confirm.
- After confirmation, the scanned document will be sent to your selected email address.
Scan to USB
- Sign in to the printer using your PrintPayGo account, select Scan, then choose Scan to USB.
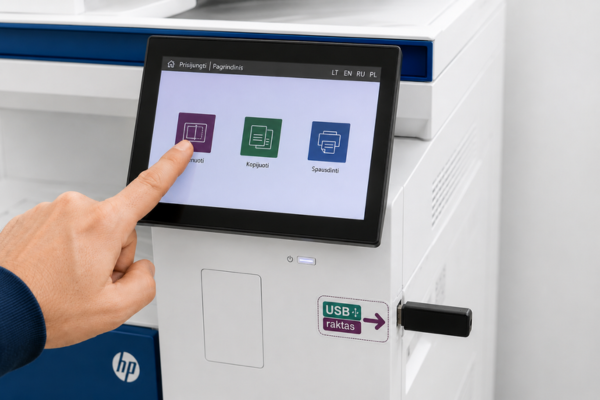
- Insert the USB drive into the USB port on the right side of the printer and wait for the sound notification confirming that the USB device has been detected.
- IMPORTANT: The USB drive must be formatted in FAT32 format.
- Use the settings panel on the left side to configure the scan job.
- Before scanning, tap Select Folder on the left side and choose where to save the scanned document. In the pop-up window, select USB and choose the destination folder by tapping Select Folder.
- When ready, tap Scan.
- After scanning, you will be asked whether you want to scan an additional document in the same session. If you want to scan another document, prepare it and tap Scan. If no additional documents are needed, tap Done. To cancel the scan job, tap Cancel Job.
- After scanning is completed, an additional window with the job price will appear. Select the wallet you want to use for payment and tap Confirm.
- After confirmation, the scanned document will be uploaded to your USB drive within a few seconds.
Copy
- Sign in to the printer using your PrintPayGo account and select Copy.
- Use the settings panel on the left side to configure the copy job.
- When ready, select the number of copies and tap Copy.
- After scanning, you will be asked whether you want to scan an additional document in the same session. If you want to scan another document, prepare it and tap Scan. If no additional documents are needed, tap Done. To cancel the copy job, tap Cancel Job.
- After scanning is completed, an additional window with the job price will appear. Select the wallet you want to use for payment and tap Confirm.
- After confirmation, the scanned document will be printed.